
To jump straight to the point, I love making cards and paper projects, but some times I struggle to find the equipment for the job. Or I find they can some times be expensive and having limited funds I cant always go out and buy the latest things.
So I have decided to create this tutorial to help others who love crafting so here goes.
To start off the equipment you will need:
 - A sizzix big shot® (as I only have the big shot machine, I don't know if this will work with other machines you have to play around and see).
- A cutter, or a craft knife (I was recently given the Fiskars® sure cut as a gift and I love it, it gives you clean cuts and the guide line on it makes getting an exact cut so easy, If you need a cutter or looking to get a new one I would recommend that one).
- A cereal box. (Empty of course).
- A pen of pencil.
- White glue, I used pva but use what works for you.
- A soft mouse mat (I had and old one laying around the house, but I did buy it from a pound shop, you will need to cut the mat to fit your machine).
- And last of all fold a piece of card for a shim. ( The card stock I used I got from Hobbycraft® in a pack of white and black and I'm not to sure of the GSM ).
So let's get started.

First cut from your cereal box a rectangle it needs to be 10.5 cm by 15 cm.
This will be the base of your embossing/texture plate. You will also need to cut 1 cm strips mine are about 24 cm long and I use 6 of them.
 Next lay one strip in the middle of the base you have just made, so the corners are lined up with the edge of the strip and mark on the base with a pen or pencil on both sides top and bottom these will be your guide lines.
Next move the strip over and line them up with the guide lines you have just made and mark again, keep doing this until you have guide lines around the whole base.

Next starting with the first guide lines you made, glue the strip into place (don't worry if your strips are to long they can be trimmed), leave a gap and glue the next strip into place using the markers as your guide, do this until you have covered your base with the strips.

Here comes the boring bit, leaving it to dry. I left mine over night, and I also tried to keep it flat and stop it from curling or warping, I layed mine in between my DVDs probably not the best place but it done the trick.

Once it's all dry trim of the excess strips. It's ready to use!

To make the sandwich for the big shot turn over your muti purpose platform to the second page ( so to speak, I don't know what you would call it ) then you want to put down your card stock shim, one cutting plate, the mouse mat, the card stock you want to emboss (I got mine again from hobby craft it's 210 gsm and I use it for everything from stamping, colouring with alcohol markers and also distress ink, I'm no expert on paper types but I do find this card good for what I want to do). Then you want to put down your texture/embossing plate you have just made, you might want to secure it with a bit of low tack tape, and finally the last cutting plate. Then roll it through.
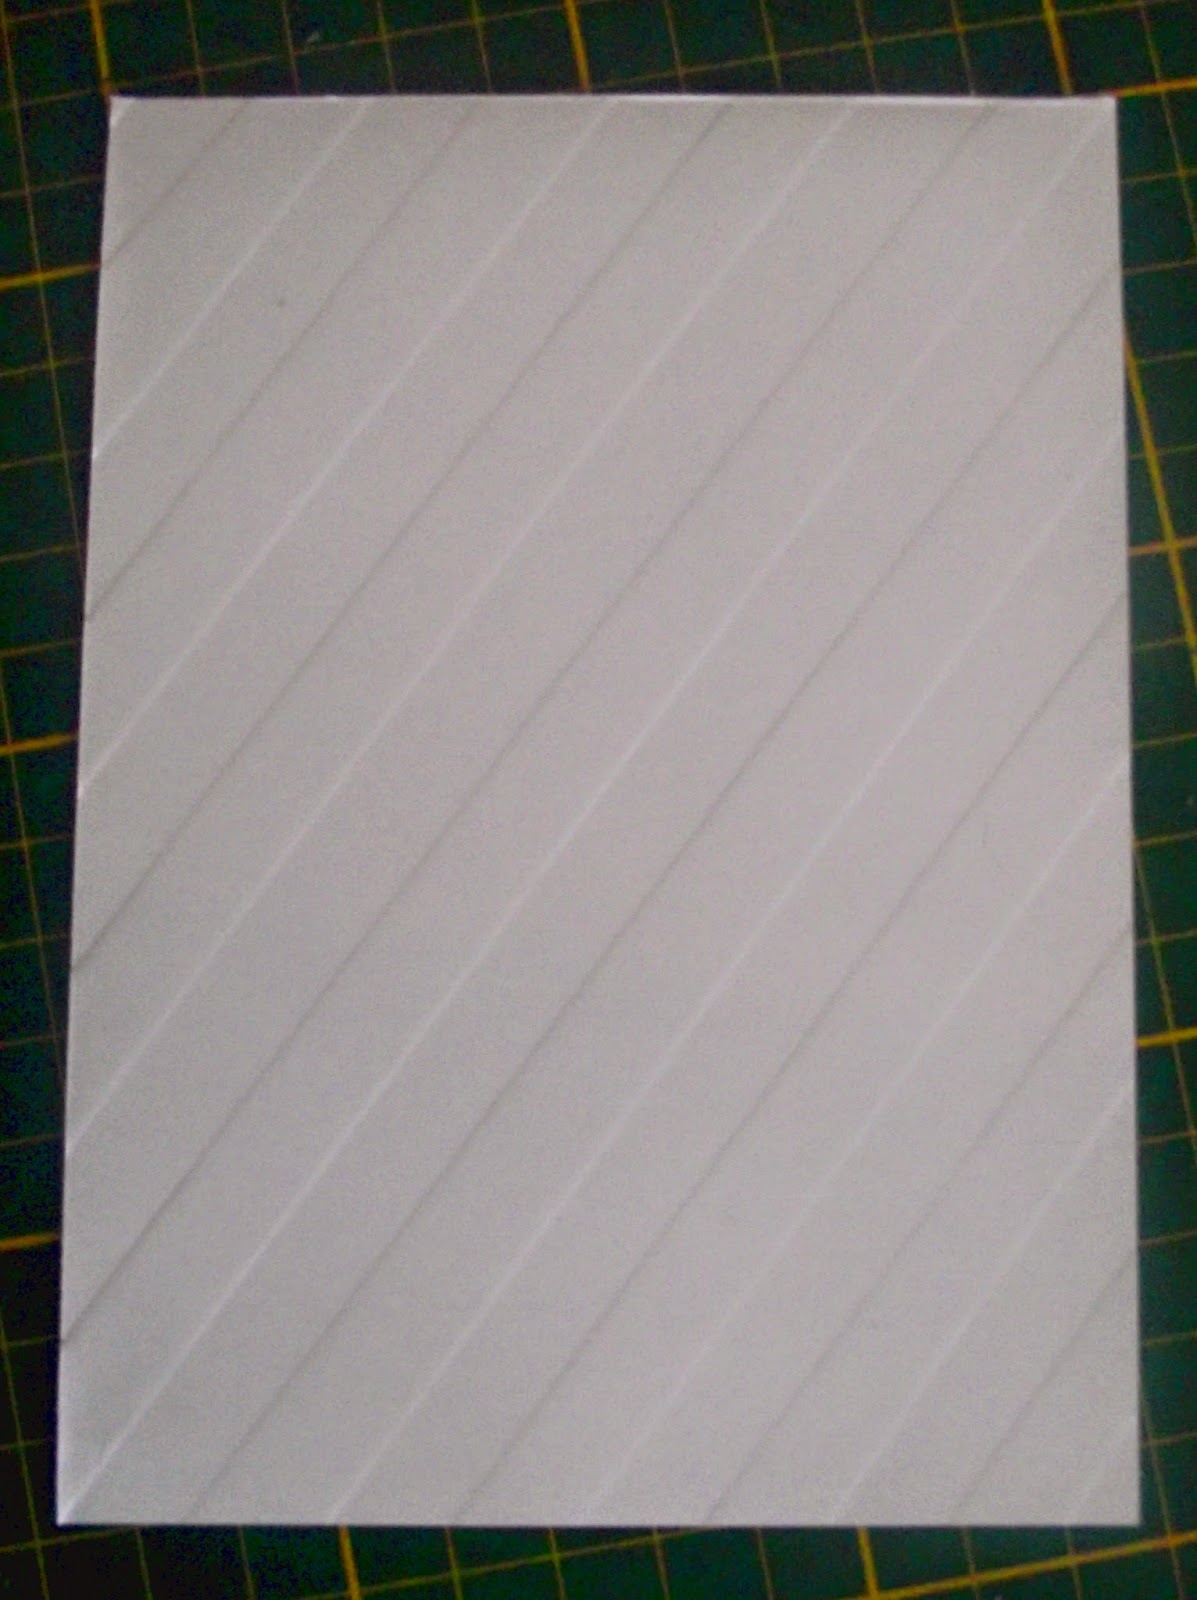
Then ta da your very own home made embossed paper.
I will admit the in print is slightly less prominent then if you used a plastic embossing folder which I guess could be sorted with two layers of card strips instead or one, but over all I'm very happy with the out come.
Just think about the possibilities of all the different types of embossing/texture plates you could make and pretty much for nothing.

These are some of the other embossing/texture plates I have made.
-The one in the middle and the bottom right I made using fancy label and flower thinlits from sizzix®.
-The one the right was made by cutting two rectangles the same size, measuring a 1cm border around the edge then cutting out the middle, Take the middle piece and cut off 1/2 a cm off one side and the top, Using the circle nest dies and create a circle up the top, and gluing it into the centre, leaving an even gap around the boarder.
-The one on the bottom left I made using the vines and leaves originals die from Sizzix®.
This is the first tutorial I have written so I hope I haven't gone on too long and bored you, Thanks for reading. Happy crafting!
This is the first tutorial I have written so I hope I haven't gone on too long and bored you, Thanks for reading. Happy crafting!
No comments:
Post a Comment